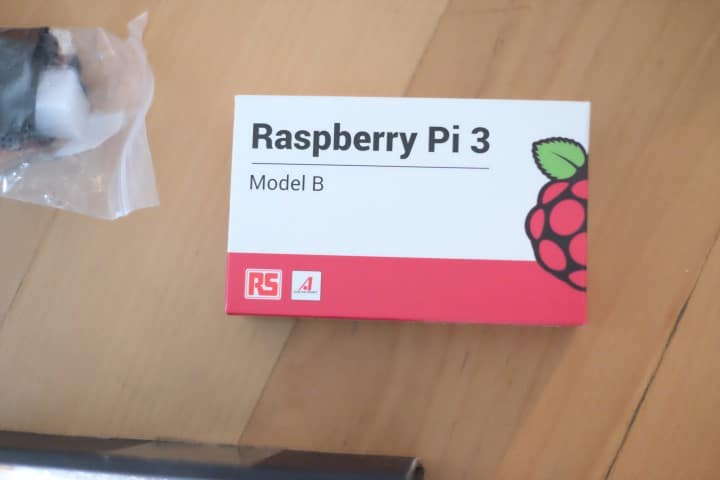
Aloha! My Raspberry Pi 3 Model B kit is here and I’m going to write a step by step guide on how to set it up with Android Things.

What is Raspberry Pi 3?
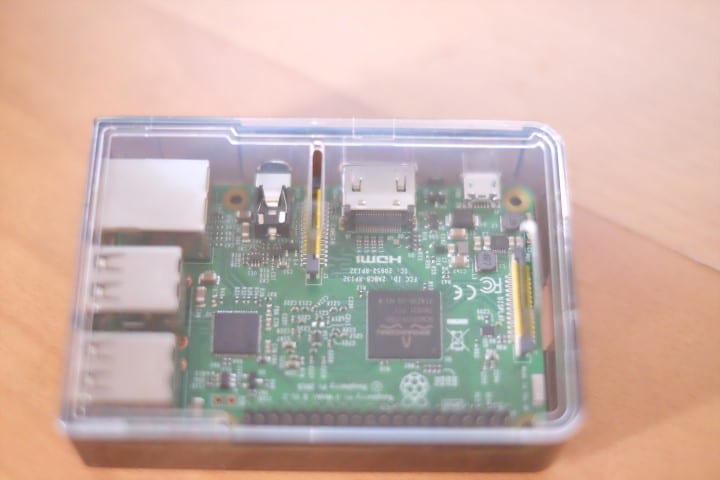
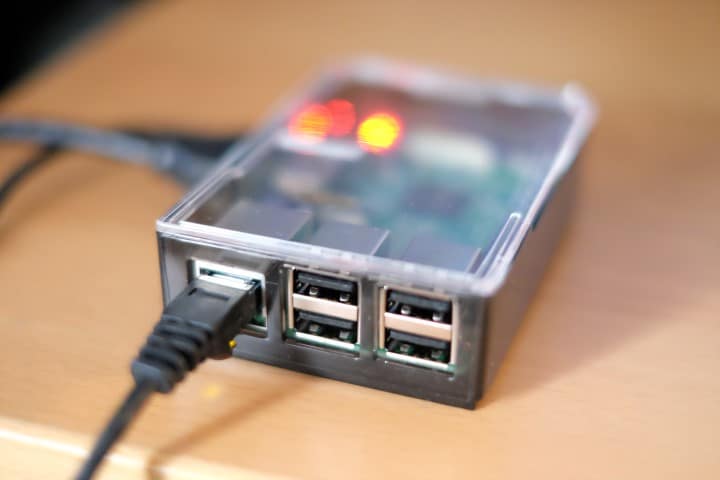
It’s a small credit card size computer that can be used to develop all kinds of fun stuff. Learn more about it directly from Raspberry foundation website. Below is a picture of Raspberry inside a small case.
Key specifications of Pi 3 Model B
There are quite a few models of Raspberry but to develop for Android Things you need Raspberry Pi 3 Model B. Below are some of the key specifications of RB Pi 3 Model B.
- A 1.2GHz 64-bit quad-core ARMv8 CPU
- 1GB RAM
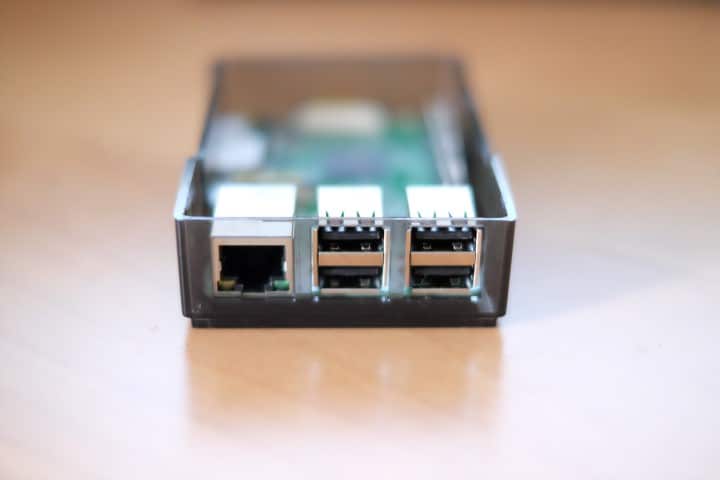
- 4 USB ports
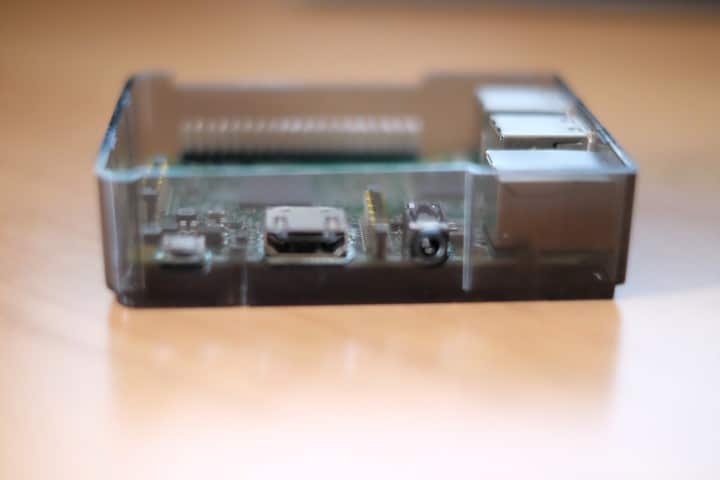
- HDMI output
- Ethernet port
- 802.11 n wireless lan
- Bluetooth
What You will need for Android Things
To begin developing for Android Things you will need a few things along with your Raspberry Pi as listed below.
- HDMI cable and HDMI display/monitor – There are quite a few on Amazon like this one http://amzn.to/2j1ROgJ
- micro USB cable
- Micro SD card(with sd adapter) and sd card reader (8GB or more)
- Ethernet cable
Once you have all the things ready, you are ready to get Android Things up and running.
Let’s Begin
Insert your sd card into your computer and download Win32DiskImager by clicking here and then install it.
Mac Users : Follow the tutorial here to write image to sd card https://www.raspberrypi.org/documentation/installation/installing-images/mac.md
Download Android Things system image for Raspberry Pi from here. It’s about 268mb so might take a while depending on your internet speed. Once downloaded just extract it using your favorite zip utility. I use 7-zip but windows usually comes with a built-in zip utility.
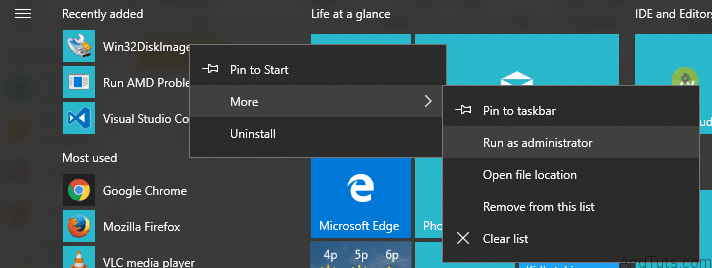
Now you need to write the image to your sd card. Begin by launching DiskImager utility we downloaded previously. On windows 10 you will have to start it by right clicking and selecting “run as administrator” as shown below.

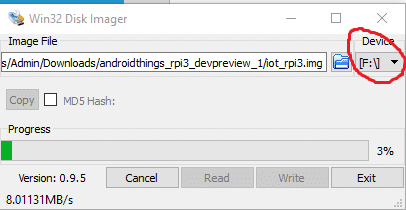
Next for Image file browse to the unzipped android things image file we downloaded previously and select it. Make sure the device letter matches the device letter for your sd card in windows as shown in red below. Click write and now you will have to wait for the image to be written to sd card. It took around 10 minutes on my computer.

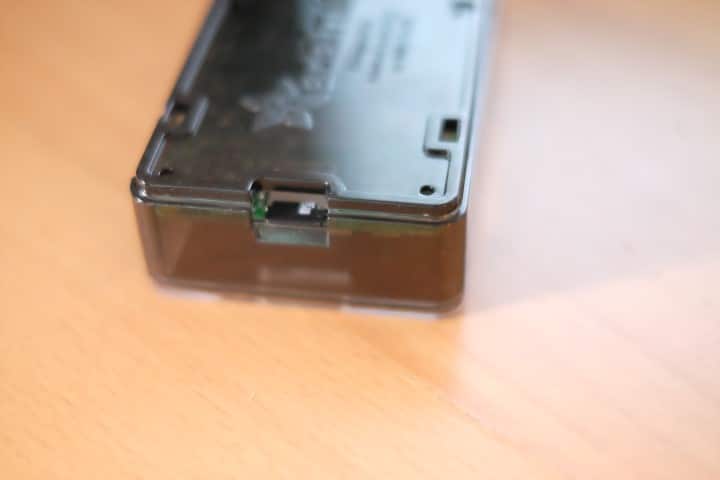
Now your sd card is ready to be inserted into raspberry pi. Insert the micro SD card as shown below.
Next, follow the steps below
- Connect your Raspberry Pi to a power source (micro usb)
- connect an hdmi display to hdmi port
- connect Ethernet cable
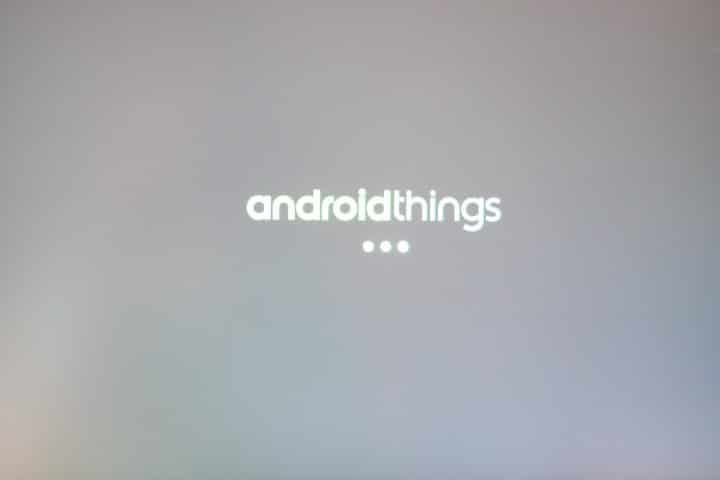
As soon as you connect the power source your raspberry will start and launch the operating system (in our case Android Things) as shown below.

ADB TOOL
Now we need to connect to our Raspberry from windows/mac or whatever your development computer is. I’m using windows so I will only cover windows here.
What is Adb Tool?
Android Debug Bridge or adb is a command line tool to communicate with our emulator device which can be a phone or a small computer running Android Things as is the case here. You can read more about it here.
Where to find adb tool on windows 10?
Update January 13 2017
Google has now released a stand alone version of adb (platform tools) which can be downloaded here .
adb tool on windows 10 is located inside username/appdata as shown below. Go to the path below.
C:\Users\YourName\AppData\Local\Android\sdk\platform-tools
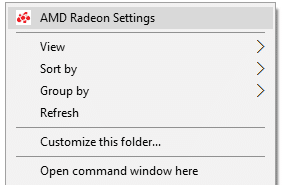
YourName will be your name or account name in windows. Once you are inside platform-tool folder, select shift and right click anywhere inside window. Shift+Rightclick and then click Open command window here as shown below.

This will open command line window and open the folder where adb is located.
How to connect adb tool to Android Things?
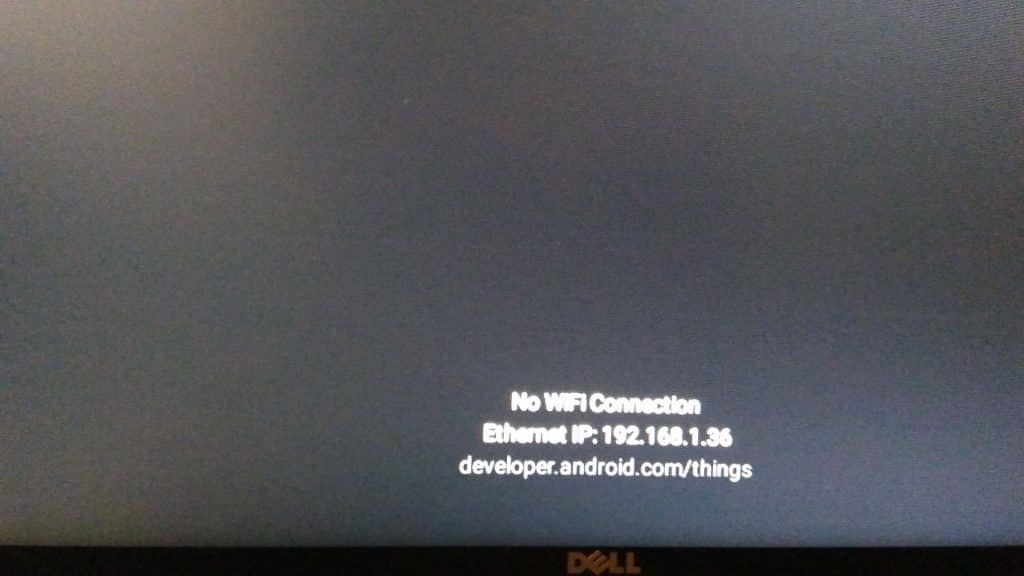
Now you are ready to connect to your android things device. Note down the ip address as shown on android things screen and run the command adb connect ipaddress as shown below.


Now you are connected to Raspberry from windows. Run command adb devices to confirm.


Remember your ip addresses will be different. Now let’s run the sample project.
Deploy the Starter/Sample project to Android Things
Download the sample project from Android Things here and open it in Android Studio.
Click run as you normally do and you will see a new device listed on top as shown below.
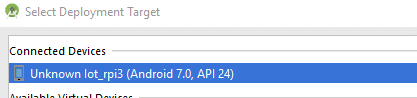

Select the device and click ok and now your sample project will show up on the display connected to raspberry.


There it is. Our Starter app is now running on Raspberry.
That’s it for now. Let me know any comments or concerns. I will build some projects in future posts and cover more details as I learn them.
Credit: https://developer.android.com/things/hardware/raspberrypi.html
